Baby Bottle OEM Sample Approval Checklist: Materials, Components, Packaging and Documentation
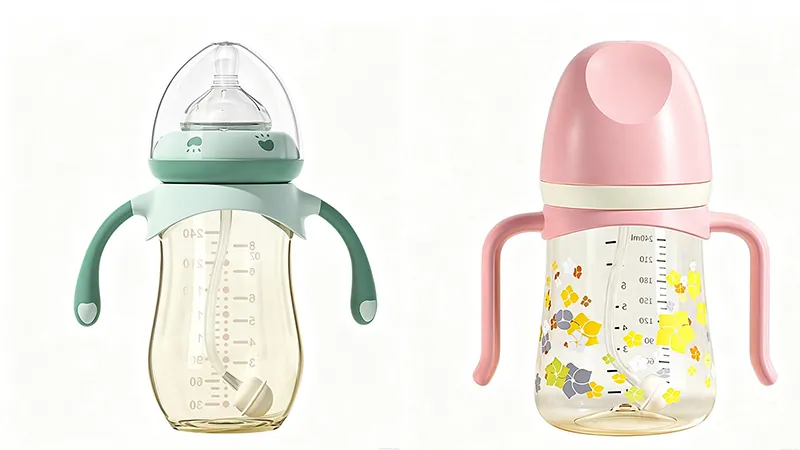
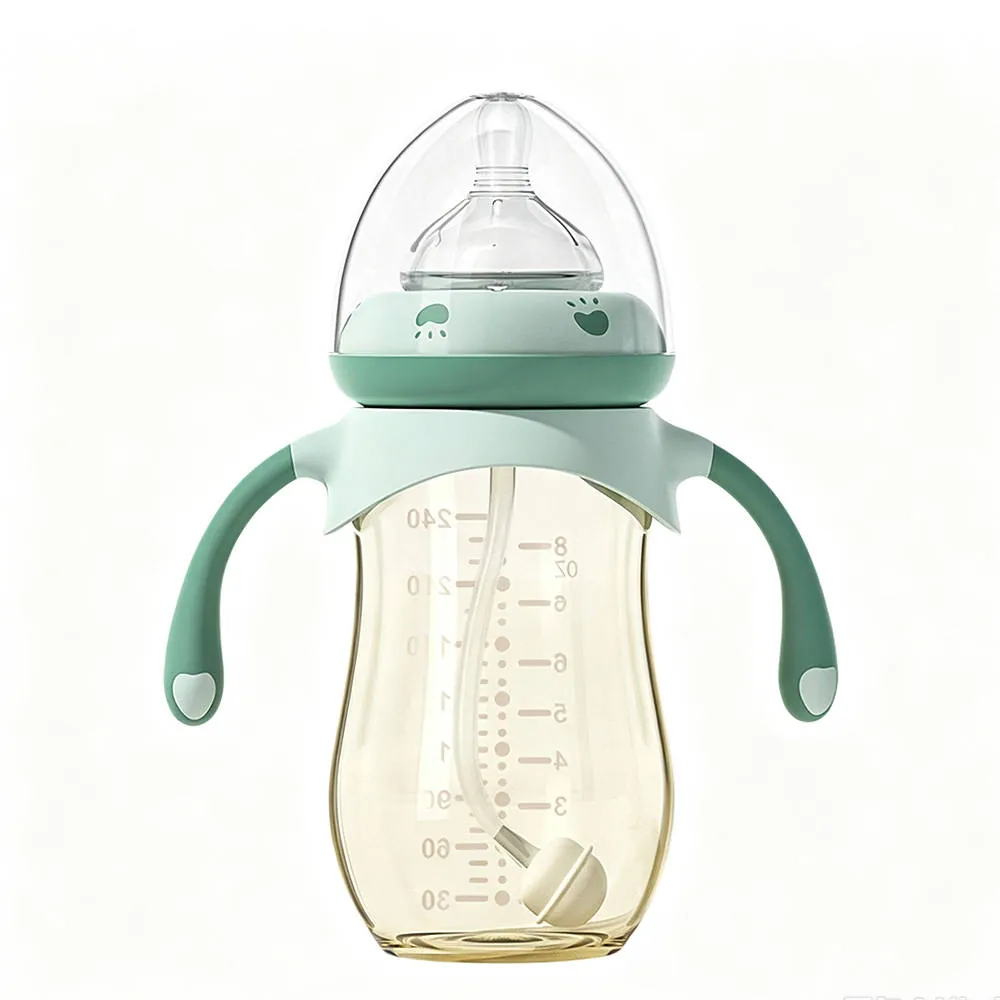
A baby bottle OEM sample approval is not simply a visual prototype review. It is the first controlled version of the final SKU: bottle body, nipple, collar, cap, and the paperwork that will travel with it.
1. Start with a written sample brief, not a photo
Send your sample request in writing: bottle volume, neck finish, nipple material, color Pantone or RGB, logo placement and packaging reference. A written brief becomes the approval document you later share with your QC team and your customer.
2. Check the materials against your target market
PP, PPSU and glass are the three most common bottle bodies. PP suits high-volume economy programs; PPSU suits heat-resistance and repeated sterilization; glass suits newborn feeding. Confirm the nipple is food-grade silicone and the collar/cap materials are BPA-free, and ask for the material declaration sheet with each sample.
3. Verify anti-colic and flow performance
A sample that looks right can still fail in use. Test air vent flow, nipple flow rate for the target age, and leakage at 45-degree tilt. Ask the factory what test method they used, so your own check is comparable.
4. Approve components separately from the bottle body
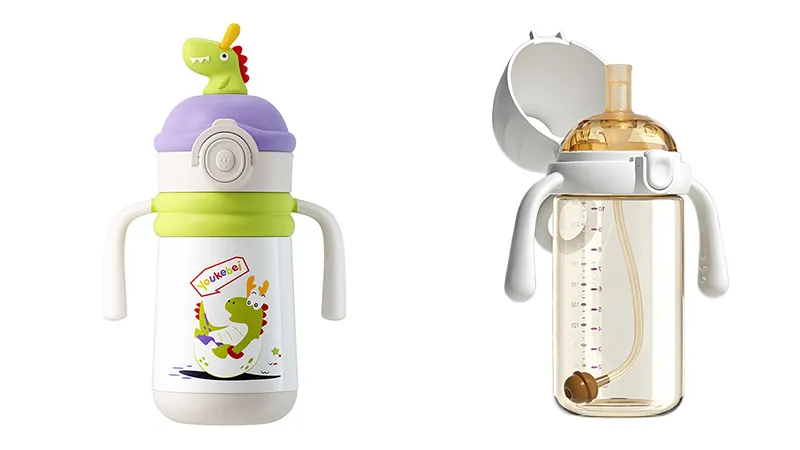
Nipple, collar, cap, handle and straw each have their own mold and their own tolerances. Approve them as separate items. A change in nipple durometer can change the flow rate even when the bottle body is unchanged.
5. Lock packaging and labeling in the same approval round
Retail packaging, barcode, multilingual labels and compliance marks should be approved together with the bottle. Packaging rework after tooling is expensive; approve it once, with the product.
6. Request the documentation pack
For each sample round ask for: material declaration, test report for your market (LFGB, FDA or EN14350), and the final inspection report. Store these files per SKU — your buyer will ask for them before the first container ships.